
Deployments monitoring
Learn how Watchly can help you start monitoring your deployments.

You have a set of services that you deploy multiple times a time. A frontend application you deploy with Vercel, Netlify or by uploading static files to an S3 bucket. A set of backend applications you deploy to ECS. Most it happen through GitHub Actions and it became hard to keep track of what went live when.
This is why we built Watchly and this page will show you how to easily get started with references to code examples.
The Deployments visibility pipeline
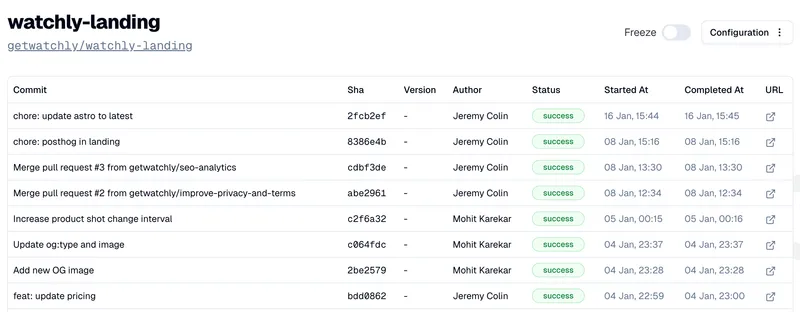
Watchly makes it easy to start tracking your deployments as we integrate natively with GitHub repositories to extract commit metadata. A repository connected to Watchly will give you a view of when your latest commits reached production like in the image below:
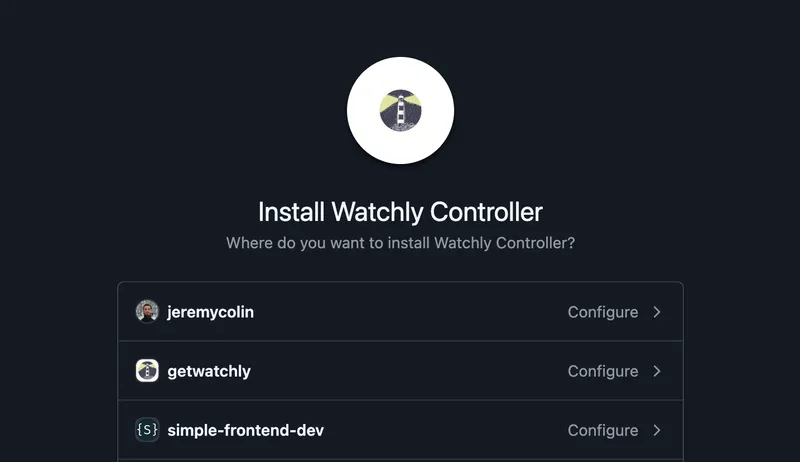
For that the first step is to create a Watchly project by connecting one of your repository. We use a GitHub App and it will show you a familiar prompt:
After that Watchly will give you an API key to identify your projects through webhooks later. It will also give you specific instructions on how to start sending those events which we will go through now.
Tracking GitHub Actions Deployments events
If you are deploying through GitHub Actions, you already have a deployments workflow. Here are the minimal steps required to start sending deployment events to Watchly:
on:
  push:
    branches:
      - main

jobs:
  deploy:
    runs-on: ubuntu-latest
    steps:
      - name: Install Watchly CLI and notify of deployment start
        run: |
          curl https://www.watchly.dev/cli | WATCHLY_CLI_VERSION=0.0.17 sh
          watchly-cli deployment start
        env:
          WATCHLY_API_KEY: ${{ secrets.WATCHLY_API_KEY }}
          RELEASE_TAG: ${{ github.ref_name }} # optional env variable

      - name: Deploy
        run: echo "Your deployment steps ..."

      - name: Notify Watchly of deployment completion
        run: watchly-cli deployment finish --status=successful
        env:
          WATCHLY_API_KEY: ${{ secrets.WATCHLY_API_KEY }}
We install the Watchly CLI which is Open Source and immediately send a deployment start event. At the end of the workflow, we send a deployment finish event, here with status success but you can conditionally send either a success or failed event like this:
- name: Notify Watchly of deployment completion
  if: ${{ success() }}
  run: watchly-cli deployment finish --status=successful
  env:
    WATCHLY_API_KEY: ${{ secrets.WATCHLY_API_KEY }}

- name: Notify Watchly of deployment failure
  if: ${{ failure() }}
  run: watchly-cli deployment finish --status=failed
  env:
    WATCHLY_API_KEY: ${{ secrets.WATCHLY_API_KEY }}
And that’s all there is to it, you’re already tracking your deployments! Here you can find the source code of a GitHub Action workflow configured with Watchly.